


Setting up a NETGEAR WiFi range extender takes under
5 minutes using one of three methods: WPS button,
browser setup via mywifiext.net, or the Nighthawk app.
Placement after setup is equally critical — the extender
must sit at the midpoint between your router and the
dead zone, where you can still see 2–3 WiFi bars from
the router’s signal.
WPS METHOD (Fastest)
Plug in the extender, press the WPS button on the
extender, then press the WPS button on your router
within 2 minutes. When the connection LED turns solid
green or blue, setup is complete.
BROWSER METHOD
Connect to the NETGEAR_EXT network, open a browser,
and navigate to mywifiext.net or 192.168.1.250. Select
your home network name and enter your WiFi password
to complete setup.
NIGHTHAWK APP METHOD
Download the Nighthawk app, open it, and follow the
on-screen instructions. Best for newer NETGEAR extender
models.
PLACEMENT TIPS
Place the extender halfway between your router and
the dead zone — not inside the dead zone itself.
Avoid placing near microwaves, baby monitors, or
cordless phones, which interfere with the 2.4GHz
band. Keep it in the open, not behind furniture
or inside cabinets.
TESTING
After placement, run a speed test in the previously
weak area. If speeds are still low, move the extender
slightly closer to the router. Repeated repositioning
with poor results may indicate a mesh system is a
better fit for your home.
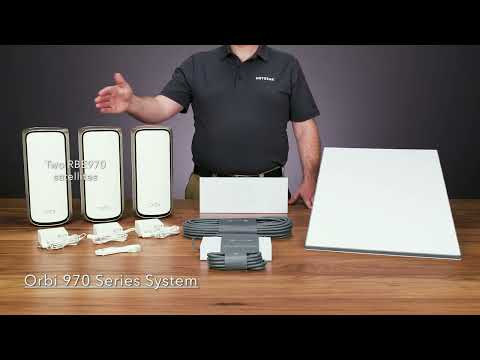
Need whole-home coverage without dead zones?
Explore NETGEAR Orbi mesh systems:
https://www.netgear.com/home/wifi/mesh/
Extender setup help:
https://www.netgear.com/home/wifi/range-extenders/
0:00 Intro & what you’ll need
0:45 WPS setup method
1:50 Browser setup method (mywifiext.net)
3:10 Nighthawk app method
4:00 Placement guide — the halfway point rule
5:15 Testing your extender
6:00 When to consider a mesh system instead
#NETGEARSetup #WiFiExtender #HomeNetworking #NETGEAR